A few years ago, catching a disease outbreak in your corn or soybeans meant walking field after field, hoping your eyes spotted the problem before it spread. That method has not disappeared, but it now has a powerful partner. In 2026, computer vision crop monitoring gives you the ability to watch every plant, every day, from a screen. Cameras mounted on drones, tractors, or fixed poles feed images into AI models that spot stress, pests, and nutrient gaps in real time. The technology has matured enough that a mid sized farm can deploy it without a data science team. This article walks you through exactly how to do that.
Computer vision crop monitoring uses cameras and AI to analyze crops in real time, catching disease, nutrient stress, and water issues before they spread. This guide walks through the setup process from choosing sensors to interpreting data. You will learn the exact steps agronomists use to deploy these systems in the field. Whether you grow corn, soybeans, wheat, or specialty crops, this approach gives you eyes on every plant, every day, without walking a row.
What Computer Vision Crop Monitoring Looks Like in Practice
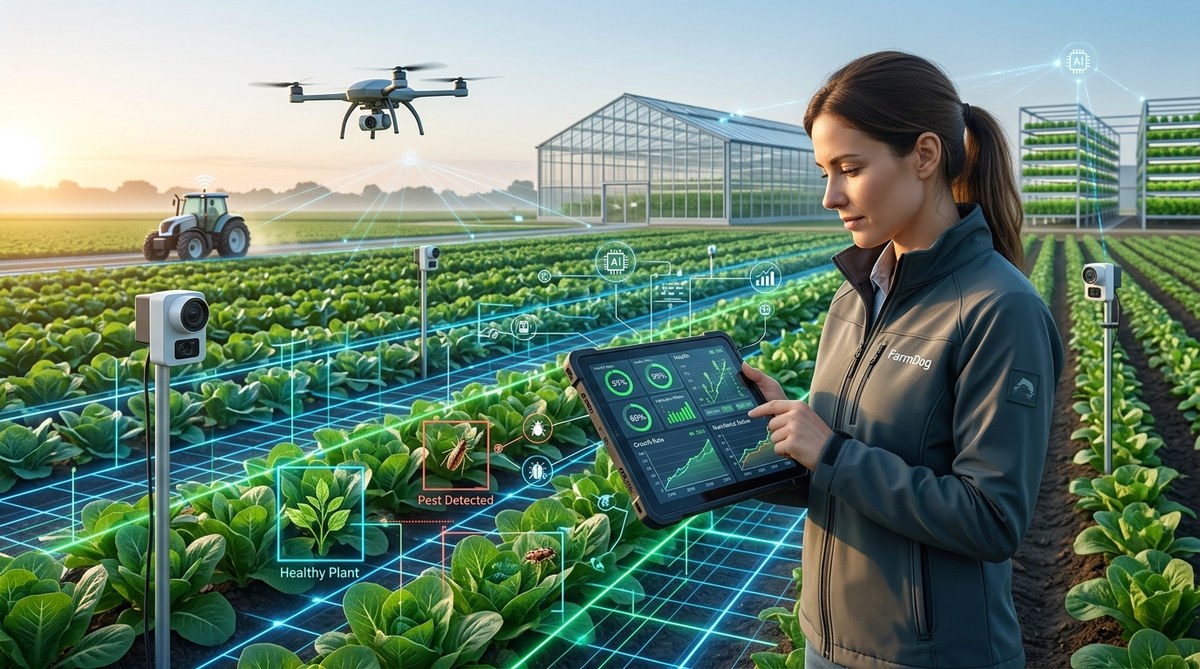
Picture a typical Tuesday morning in July. A drone auto pilots over a 160 acre field of soybeans, capturing multispectral images every three seconds. Those images stream to a laptop or tablet where a model trained to spot signs of sudden death syndrome and frogeye leaf spot runs inference. Within minutes, a map appears on your screen with red polygons marking suspicious zones. You drive a truck to the flagged spot, confirm the diagnosis, and treat only those plants instead of blanketing the whole field.
That scenario is not a pilot project anymore. It is standard practice for thousands of operations across the United States. The core technology stack includes a camera or sensor, an onboard or cloud based AI model, and a dashboard that turns predictions into actionable maps. The magic happens when those three pieces work together without lag. If you are researching precision agriculture or advising growers, understanding how to wire these pieces together is the difference between a toy and a tool.
How to Build Your Real-Time Monitoring System in 6 Steps
Setting up a reliable system does not require a computer vision PhD, but it does require following a logical sequence. Skip a step and you will end up with noisy data or a model that cannot tell a weed from a healthy leaf. Here are the six steps that agronomists and tech savvy farmers use to get it right.
-
Select your imaging platform. You have three main choices: drones, fixed cameras on poles or irrigation pivots, and tractor mounted cameras. Drones offer the most flexibility and are the most popular choice in 2026. They cover large areas quickly and can carry multispectral or thermal sensors. Fixed cameras give you continuous data from the same spot, which is ideal for research plots or high value crops. Tractor mounted systems work well for in season scouting but miss the broad view. Match the platform to the size of your operation and the specific problems you want to catch.
-
Pick the right sensor for the job. Standard RGB cameras see what your eyes see. Multispectral cameras capture near infrared and red edge bands that reveal plant health before visible symptoms appear. Thermal sensors detect water stress through canopy temperature. For most row crop applications, a multispectral camera provides the best return on investment. It will catch nitrogen deficiency, early disease, and irrigation issues in one pass.
-
Train or select a model that knows your crop. You can either use a pre trained model from a vendor or train your own using labeled images from your fields. Pre trained models work well for common crops like corn, soybeans, and wheat. Custom training makes sense if you grow specialty crops or face unique pest pressures. Services like Roboflow and Ultralytics Hub make the training process accessible to anyone who can take photos and draw bounding boxes. For a deeper look at how AI fits into the bigger picture, check out our guide on integrating AI-powered tools for smarter crop management.
-
Set up the data pipeline. Images need to travel from the camera to the model and then to your dashboard. The fastest setups process images on the edge, meaning the drone or camera itself runs the model and sends only alerts to the cloud. Slower but cheaper setups send raw images to a cloud server for processing. Make sure your internet connection or cellular coverage supports your choice. If your fields are in a dead zone, edge processing is the only reliable path.
-
Build a dashboard that your team will actually check. Raw data is useless if nobody looks at it. Use a platform like FarmOS, Granular, or a custom Grafana dashboard to turn predictions into color coded maps and push notifications. Set alert thresholds so you get a text message when the model detects a problem above a certain confidence level. Agronomists who do this well treat the dashboard as a triage tool, not a data museum.
-
Validate the model outputs in the field. Every detection the model makes needs to be ground truthed at first. Walk to the flagged spots, take your own photos, and compare notes. Over time, the model learns from your corrections and gets more accurate. This feedback loop is the most overlooked step. Without it, your system will drift and start flagging false positives that erode trust.
What Your System Should Scan For
Not all crop problems are equally detectable by computer vision. Some leave clear visual signatures that models catch with high accuracy. Others require additional sensor data or lab tests. Here is what works well and what does not.
- Early disease detection. Fungal and bacterial diseases that cause leaf lesions, discoloration, or wilting are highly detectable. Models trained on thousands of labeled images can spot rust, blight, and mildew days before the human eye sees them. This gives you a window to treat before the infection spreads.
- Nutrient deficiency. Nitrogen, potassium, and magnesium deficiencies show up as distinct color and texture changes in leaves. Multispectral cameras pick up these shifts in the red edge and NIR bands. You can create variable rate fertilizer maps directly from the model outputs.
- Water stress. Thermal cameras read canopy temperature. Plants that are short on water have higher leaf temperatures than well watered neighbors. This lets you spot failing irrigation zones or clogged drip lines without walking the field.
- Weed pressure. Models can distinguish crop leaves from weed leaves by shape, color, and growth pattern. This enables spot spraying and reduces herbicide use. The savings on chemical costs alone often pay for the camera system within one season.
- Pest damage. Chewed leaves, stippling, and boring holes are visible to RGB cameras. However, small insects like aphids or thrips are often too tiny for standard drone cameras. You may need a ground level macro lens for those.
- Yield prediction. Models that count flowers, pods, or fruit can estimate yield with surprising accuracy. Soybean pod counts in late summer correlate strongly with final bushels. This feature is still improving, but in 2026 it is reliable enough for forward contracting decisions.
For a closer look at how drones fit into this workflow, read our post on how to leverage drone technology for precision farming in 2026.
Common Pitfalls and How to Fix Them
Even well designed systems hit snags. The table below shows the most frequent mistakes that agronomists report and the straightforward fixes that keep the project on track.
| Mistake | How to Fix It |
|---|---|
| Using a model trained on a different crop or region | Retrain or fine tune your model on local data. A model trained on Iowa corn will struggle with California corn. |
| Flying too high or too fast for the sensor resolution | Match your altitude and speed to the ground sample distance your model needs. Most models need at least 2 cm per pixel. |
| Ignoring lighting conditions | Fly during consistent light, ideally within two hours of solar noon. Clouds create shadows that confuse models. |
| Not labeling enough images for the training set | Start with at least 500 labeled images per class. Add more as you find edge cases in your fields. |
| Relying on a single image per location per week | High frequency imagery (daily or every other day) catches issues early. Weekly intervals often miss the window. |
| Forgetting to update the model after a season | Crops change appearance across growth stages. Retrain your model each season with fresh data from the current year. |
One additional mistake deserves special attention: treating the system as a black box. If you do not understand why the model flagged a certain area, you cannot trust its outputs. Always look at the raw image that triggered the alert. This builds intuition and helps you catch model drift before it causes a problem.
Expert Advice on Making It Work
“The biggest mistake I see is people buying a drone and a camera before they know what question they are trying to answer. Start with the problem, then choose the tool. If you want to catch nitrogen deficiency, buy a multispectral camera and learn how to interpret NDRE maps. If you want to spot soybean aphids, save your money and walk the field with a sweep net. The technology is amazing, but it is not magic. It solves specific problems well and other problems not at all.”
Dr. Lisa Hendricks, Precision Ag Specialist, University of Illinois Extension
That quote gets at the heart of successful adoption. Computer vision crop monitoring works best when you match the sensor and model to a clearly defined agronomic question. Do not try to boil the ocean in year one. Pick one pest, one nutrient, or one stress factor and build your system around that. Once you see the value, you can expand.
Data management is another area where experts urge caution. Every flight generates gigabytes of data. Without a plan for storing, backing up, and organizing those files, you will drown in raw imagery. Cloud storage with automated tagging solves this. Many platforms now offer built in organization that links images to GPS coordinates, timestamps, and flight IDs. Use those features from day one.
If you want to go deeper on turning all that data into better decisions, our article on harnessing farm data to boost crop productivity and efficiency covers the analytics side in detail.
Start Small, Scale Smart: Your First Season with Computer Vision
The single best piece of advice for 2026 is to run a pilot on one field before you expand. Pick a field that has a history of a specific problem, like white mold in soybeans or tar spot in corn. Set up your drone and camera system, train or configure your model, and run it for a full season. Compare the model detections with what you actually find when you walk the field. Track how many times the model caught a problem before you would have seen it with your own eyes.
That pilot will tell you everything you need to know. It will reveal gaps in your setup, show you the true time commitment, and give you a concrete return on investment number to share with partners or stakeholders. Most importantly, it will build your confidence in the technology. By the end of the season, you will trust the alerts enough to act on them without double checking every single pixel.
Computer vision is not replacing the agronomist. It is giving you a superpower. You still bring the experience, the intuition, and the relationship with the grower. The camera just gives you better eyes. Set up your system this season, validate it carefully, and watch how much earlier you catch the things that matter. Your crops will thank you.